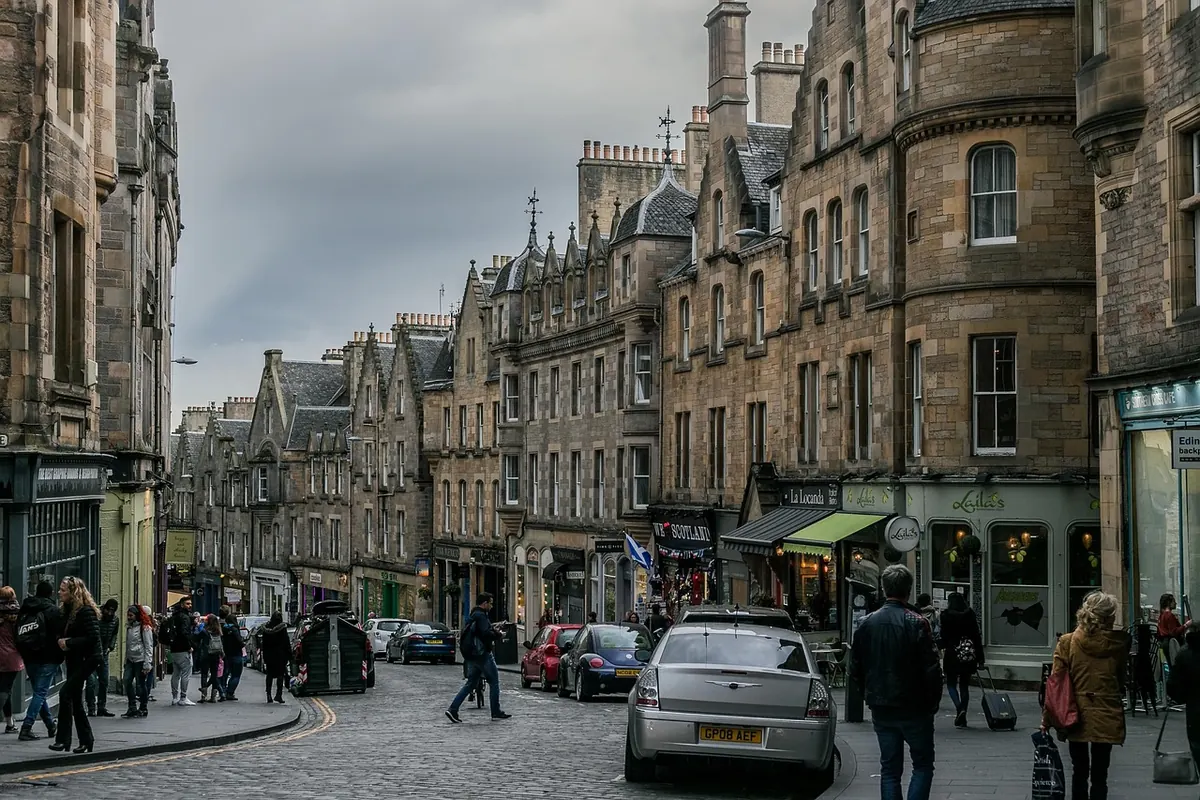
Cobbles are awkward. They sit at odd angles, throw light in unexpected directions, and the gaps between them swallow shadow in a way that flat tarmac never does. Add failing light and the scene becomes a tug of war between the lamp behind you, the sheen on the stone and the darkness in between.
Which is exactly why cobbled streets are worth photographing once the sun has gone. Wet granite, worn limestone setts and old basalt hold colour and texture that vanish in flat midday light. Get three things right — settings, stability, composition — and low light stops being an obstacle and becomes the reason you came out.
You do not need much. A camera you can adjust manually, one reasonably fast lens and something to rest it on will cover most evenings. Check you have:
One underrated extra: something to shield the front of the lens from a nearby street lamp. A hand, a hat, a piece of card — anything that stops a bright source striking the glass at a shallow angle will save you a lot of flare.
Numbers copied from someone else's blog will not fit your street. Start with what the scene is doing and adjust from there.
In decent light, f/5.6 to f/8 keeps the setts crisp from the foreground to the far kerb. After dark you will usually open up to f/2.8 or wider and accept softer corners. A slightly soft corner beats a blurry frame every time.
Handheld with a wide lens and stabilisation, 1/60 is a safe starting point, and 1/30 is possible if you brace against a wall. Anything longer needs support. Passing figures smear at around 1/15, which can look wonderful — but decide that in advance rather than discovering it at home.
Do not be frightened of it. On most cameras made in the last few years, ISO 1600 to 3200 looks perfectly good on a night street. Underexposing heavily to keep the ISO low, then lifting the file later, costs you more in noise and blotchy colour than simply setting a higher ISO in the first place.
Shoot raw. Old sodium lamps push everything amber, modern LED street lighting can look cold or faintly green, and lit shop windows add a third colour on top. A fixed white balance — daylight, or around 4000K — keeps a sequence consistent and is easy to correct later. Dial in minus a third to minus two-thirds of a stop of exposure compensation to protect lamp highlights, and switch on the highlight warning so you can see what is clipping.
Most cobbled streets will not let you set up in the middle of the road, and many have a camber that makes levelling a chore. Work around it.
A beanbag is the quiet hero here. Rest it on a kerb, a low wall or the top of a post box, nestle the camera in, and you have a rock-steady platform at eye level or below — which is often the angle cobbles deserve anyway.
Cobbles photographed from standing height look like a floor. Get down to around 30cm and they become the leading lines of your picture, running away towards a lamp or a lit doorway.
Look for the gutter. Many older streets have a shallow channel down the centre that acts as a ready-made path through the frame. Wet stone doubles every light source, so puddles are not obstacles but reflectors. Wait for someone to walk through and you have scale, movement and a human note in one frame.
Keep the brightest thing off-centre unless symmetry is the point. Give the picture a lit window, an open door, a bicycle against a wall or a painted shop sign, so it is about a place rather than a pattern. Then shoot three or four frames instead of one; the street usually suggests what it wants on the second attempt.
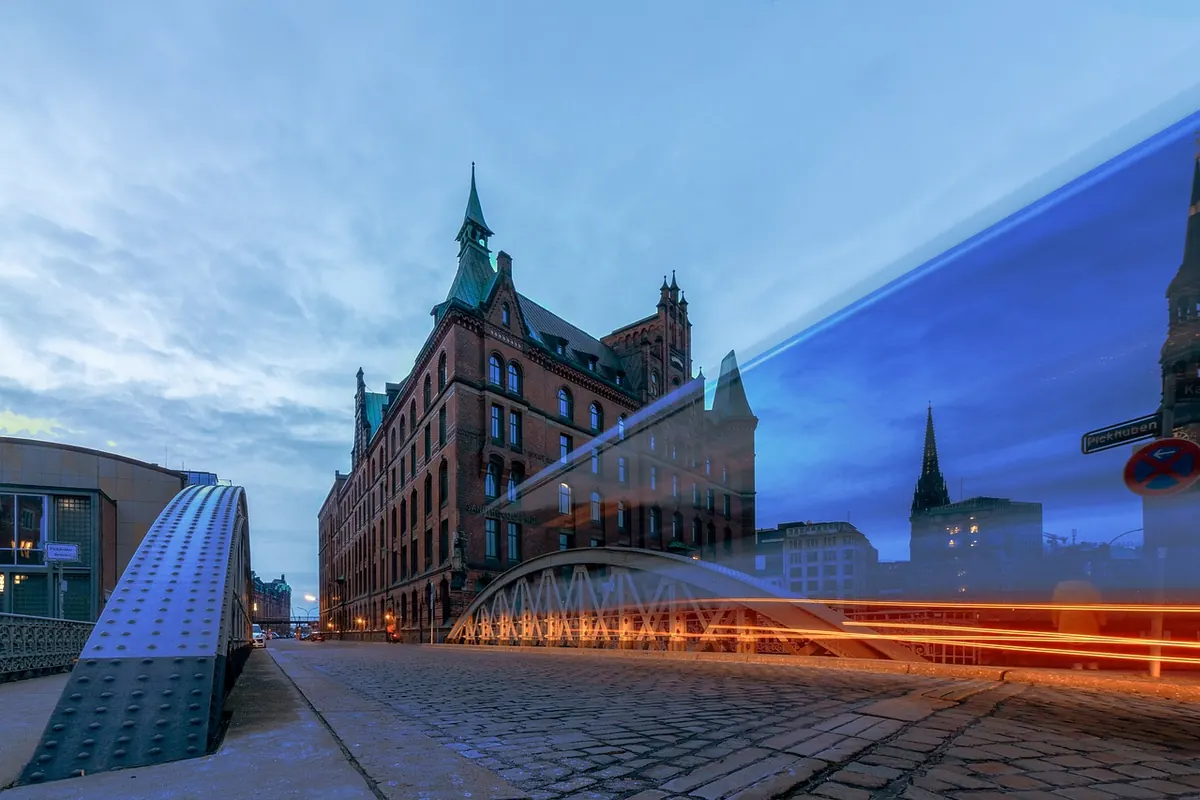
Blue hour does the hard work for you. Arrive about half an hour before sunrise, or stay 20 to 40 minutes after sunset, and the sky still holds colour while the lamps are on. That balance of cool sky and warm street is the classic cobbles shot, and it needs no trickery.
Expose for one or the other, not both. Meter for the sky and the lamps burn out into soft orange blooms, which often looks better than it sounds. Meter for the lit stone and the sky falls to near-black, so the shot becomes about pools of light. Both work — just choose deliberately. These are
Photo: 2857440 / Pixabay